Setting up the first solar panel system can be a rewarding project that helps you harness clean and renewable energy. Here’s a step-by-step guide to help you get started:
- Determine Your Energy Needs:
- To determine the size of the solar panel system you need, it is important to calculate your average daily energy consumption in kilowatt-hours (kWh). You can find this information on your latest energy bill, which should include your monthly electricity usage in kilowatt-hours (kWh), as well as historical data on your usage over time. To estimate your daily electricity usage, simply divide your monthly average by 30. This will give you a good idea of how much energy you need to generate with your solar panel system.
- Assess your location.
- Evaluate your location’s solar potential by considering factors such as sunlight hours, shading from trees or buildings, and local climate conditions.
- Use online tools or consult with solar professionals to assess your site’s solar resources.
- Select Solar Panels:
- Choose high-quality solar panels that suit your budget and energy needs.
- Consider factors such as efficiency, durability, warranty, and aesthetics when selecting panels.
- Decide between monocrystalline, polycrystalline, or thin-film solar panels based on your preferences and requirements.
- Choose an inverter.
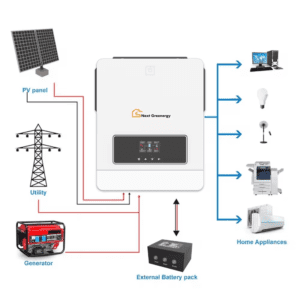
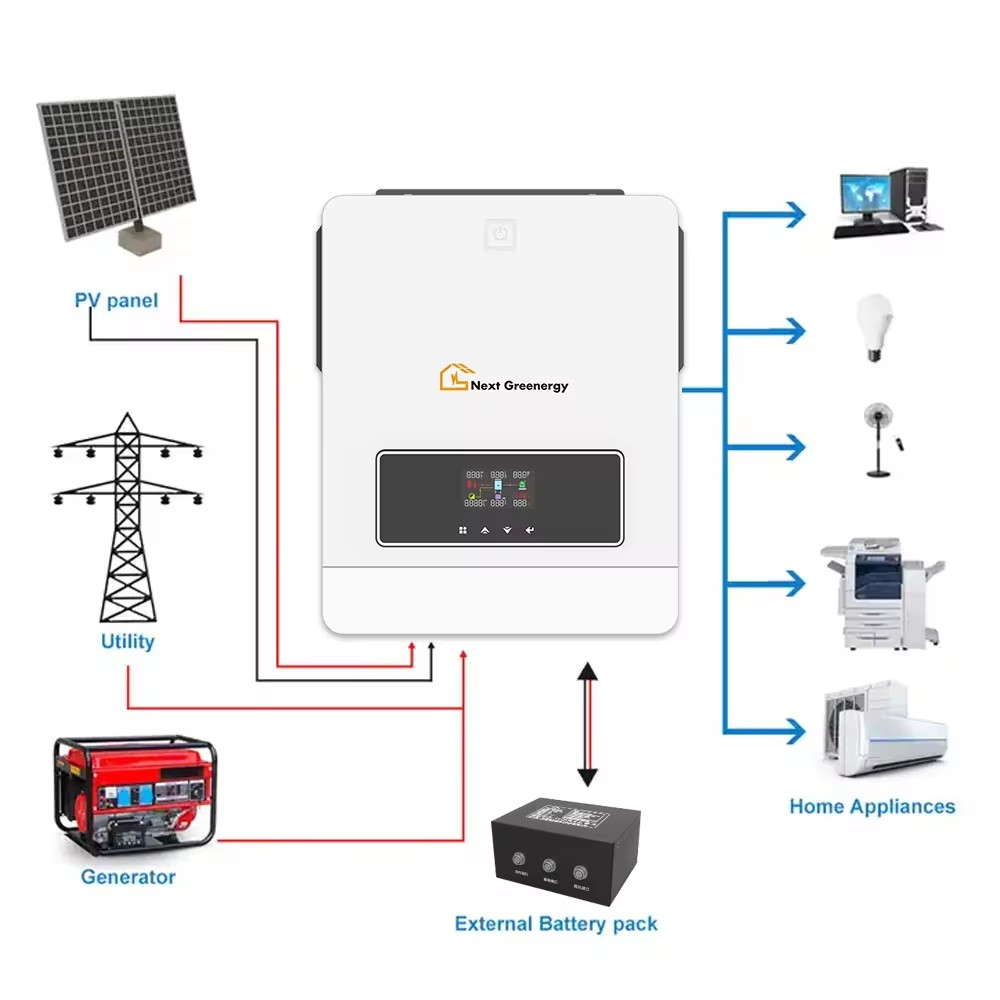
- Select an inverter based on the type and size of your solar panel system.
- String inverters, microinverters, and power optimizers are common options, each with its advantages and disadvantages.
- Ensure compatibility between the inverter and solar panels.
- Select mounting equipment:
- Choose mounting equipment, such as racks or frames, to securely install your solar panels.
- Consider factors such as roof type, orientation, and local building codes when selecting mounting equipment.
- Determine Battery Storage :
- Decide whether you want to include battery storage in your solar panel system.
- Batteries can store excess solar energy for use during times when sunlight is unavailable, providing backup power and increasing energy independence.
- Related Post: Solar Electrical Power System
- Design your system:
- Create a system design that includes the layout of solar panels, inverters, mounting equipment, and any additional components.
- Consider factors such as shading, tilt angle, and wiring to optimize system performance.
- Obtain Permits and Approvals:
- Obtain the necessary permits and approvals from local authorities before installing your solar panel system.
- Ensure compliance with building codes, zoning regulations, and utility requirements.
- Install your system:
- Follow the manufacturer’s instructions and safety guidelines to install your solar panel system.
- Securely mount solar panels on the roof or ground-mount system, connect wiring, and install the inverter and other components.
- Consider hiring a professional installer for complex installations or if you’re not comfortable with DIY.
- Connect to the grid (if applicable):
- If you’re connecting your solar panel system to the grid, coordinate with your utility company to complete the interconnection process.
- Install a bi-directional meter to measure energy production and consumption accurately.
- Test and Commission:
- Test your solar panel system to ensure all components are functioning correctly.
- Monitor system performance and troubleshoot any issues that arise during the commissioning process.
- Enjoy Solar Power:
- Once your solar panel system is up and running, enjoy the benefits of clean, renewable energy.
- Monitor system performance regularly and maintain components to ensure optimal efficiency and longevity.
By following these steps and consulting with solar professionals as needed, you can set up your first solar panel system successfully and start enjoying the benefits of solar power.
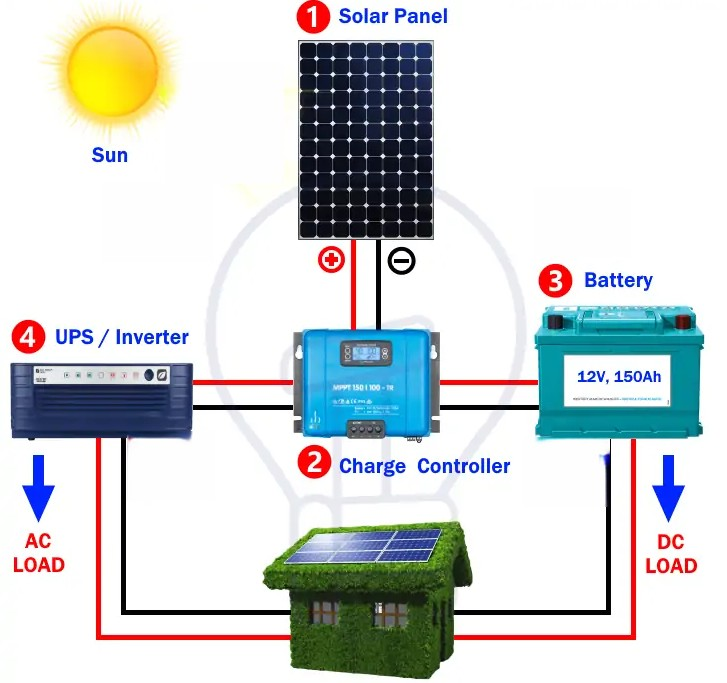
Basic Components of a Solar Panel System
- Solar Panel
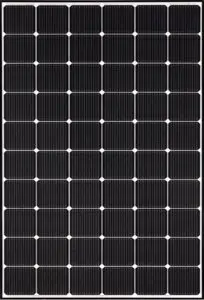
The solar panel is directly connected to the charge controller. However, there are various connections for solar panel arrays, such as series and parallel connections. These connections depend on load calculation, specific energy requirements for home appliances, battery bank connection, roof surface space, climate, and peak sunshine hours. shine hours.
2. Charge Controller
Charge Controller Used to regulate the voltage and current from the solar panels connected to the batteries. The main purpose of a charge controller is to prevent the overcharging of batteries.
- Simple 1 and 2-Stage Charge Controllers: Relay and shunt resistors are used to control the voltage in single or two stages to disconnect the solar panel from the battery in case of overvoltage.
- PWM (Pulse Width Modulation): 3 Stage Charge Controllers: It is based on a pulse with modulation and cutoff of the battery circuit from the connected solar panel from the photovoltaic cell in case of overcharging.
- MPPT (Maximum Power Point Tracking) Controllers: MPPT is a DC-to-DC converter in the case of a solar panel array for the battery bank. It optimizes and regulates the higher DC voltage levels from the solar panel and converts them to the lower optimized and regulated voltage to charge the battery. These are a little bit expensive but more efficient. They provide 10–30% more power to a battery with an efficiency of 94–98%.
3. Battery
 Related Topic on Battery
4. Inverter / UPS
An inverter is a device that converts direct current (DC) power into alternating current (AC) power. When combined with a converter, it forms a UPS (uninterruptible power supply) system. The UPS serves the dual purpose of converting DC voltage to AC for powering AC-operated home appliances and converting AC back to DC to charge the battery from an AC power source.


